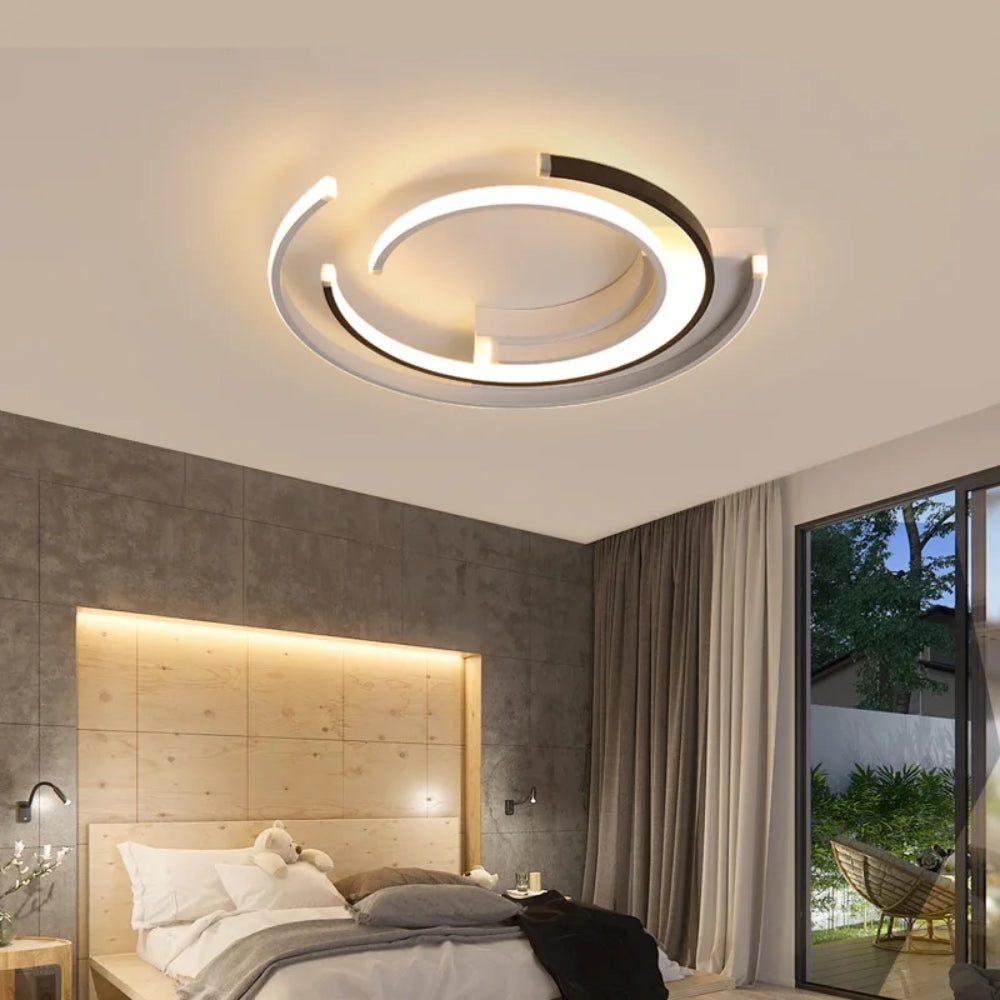
How to Properly Install a New Ceiling Lamp
Mary Jane ThorntonUpdating your ceiling lamp can completely transform a room, adding both style and better illumination. Whether you’re swapping out an outdated fixture or installing something fresh to brighten your space, following a few simple guidelines will make the process safe and smooth.
Step 1: Safety First
Before you even touch the lamp, switch off the power at the breaker box—not just the light switch. Double-check by flipping the light switch to ensure no current is running. Safety should always be your top priority.
Step 2: Gather Your Tools
You’ll need a screwdriver, voltage tester, wire strippers, and possibly a step ladder. Having everything within reach will save you time and frustration.
Step 3: Remove the Old Fixture
Carefully unscrew the old lamp and lower it down. Most fixtures will have a simple mounting bracket and a few wire connections. Use your voltage tester to confirm the wires are not live before proceeding.
Step 4: Connect the Wires
Typically, you’ll find three wires: live (brown or red), neutral (blue or black), and earth/ground (green-yellow). Connect each wire from your new lamp to the corresponding wire in the ceiling using wire connectors. If you’re unsure about your wiring colors, check the manual that comes with your fixture.
Step 5: Secure the Fixture
Once the wires are connected, tuck them neatly into the ceiling box and fasten the new lamp’s bracket securely. Attach the lamp to the bracket, ensuring it is aligned and level.
Step 6: Test the Light
Turn the power back on at the breaker, then flip the switch. If the light comes on smoothly, you’ve done it! If not, turn the breaker back off and double-check your wiring connections.
Need a Visual Guide?
Sometimes it helps to see the process in action. Check out this helpful YouTube tutorial on installing a ceiling light for a step-by-step walkthrough.
With these steps, your new ceiling lamp should be up and shining in no time, bringing warmth and brightness to your home.
